
When designing flows, controlling the order in which actions and subflows are run is important for complex flows with multiple functions and error handling.
This can be done by using flow control actions in the application. It ensures a more efficient flow.
Learning objectives:
- Learn how the flow works.
- Learn how to use the flow control group of actions to direct and manipulate the flow.
Watch the video below, scroll past it for text instructions.https://youtu.be/asBj8Y_ZDo0
Table of contents
Comment
Comment facilitates flow design, allowing users to make notes and explain the logic of a set of actions. This action is recommended if you are designing a complicated flow so that the next developer or user will be able to understand before going through the sets of flow.

Label
We can control the flow by creating a label, a label acts as the destination of a go to statement

Go To
This transfers the flow execution to another point indicated by a label so you have to select which label that you have created.

For example, create multiple labels (1, 2 and 3).

Display a message for each label 1, label 2 and label 3.

Deploy the Go to action at the start. For this example, we would like it to go straight to label 3.

However, if Label2 is selected, it will be directed straight to Label 2. After that, as the flow continues, the display message box for label 3 will pop out.

This is how you can make use of the Label and Go to action.
Run subflow
This action allows you to execute an existing flow. When the subflow completes, the flow continues with the next action
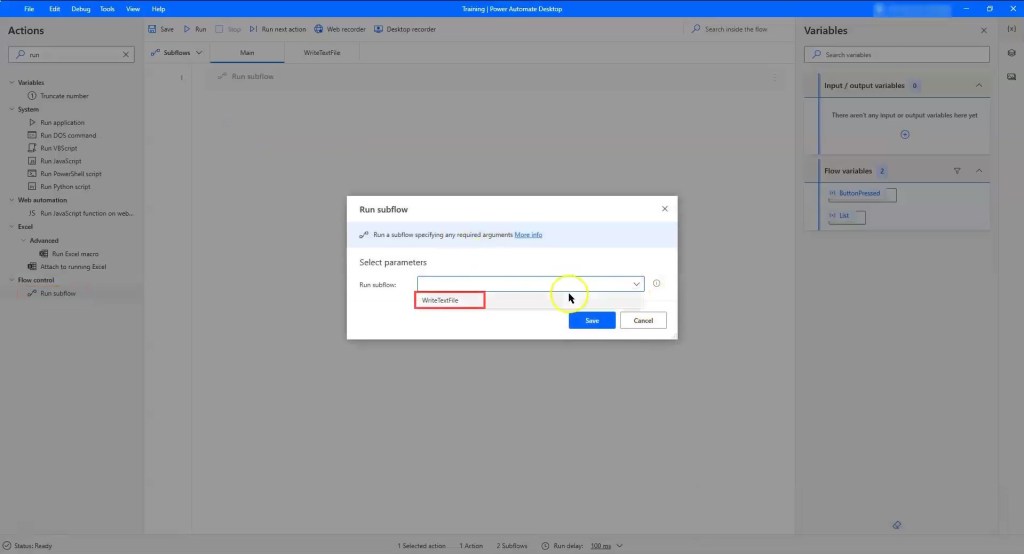
- Select Run subflow

2. Select Subflow_1 (or the name of the Subflow you have created). Next, if you were to run the flow, it will execute subflow_1 and after that it will continue the next action.

How can we stop a subflow? To do so, use the Exit subflow action or the Stop flow action.
Differences between these 2 actions:
Exit Subflow
- To stop the subflow and go back to the point where it was run
- Exit subflow action is not required at the end of a subflow
Stop flow
- To stop running the entire flow
- There is also an option to stop the flow with an error message
Example:
Following will be an example of how to use the Label, Go to and Run subflow Action.
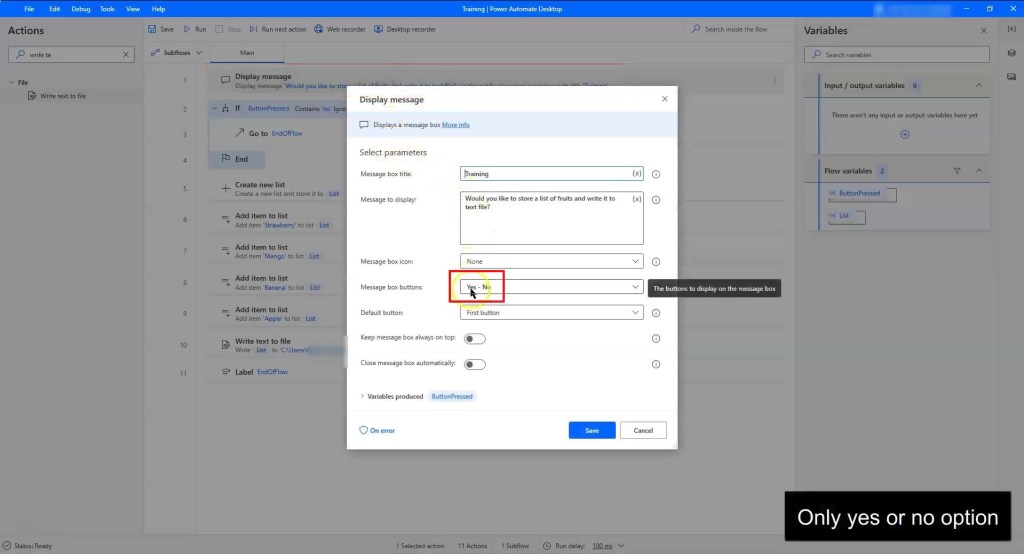
Create a flow where the robot asks the user if they would like to store a list of fruits into a text file. They will have an option to press the button, “Yes’ or “No”.
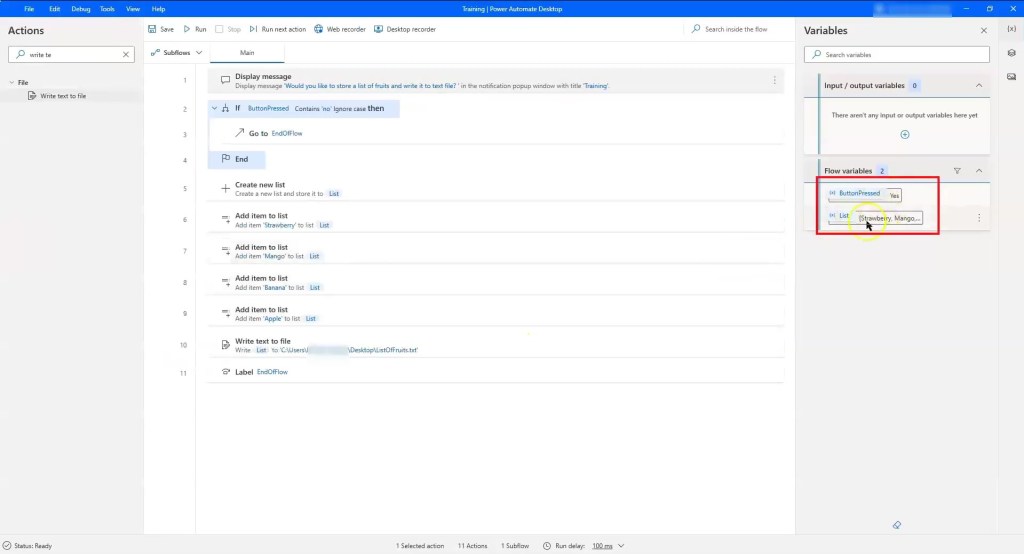
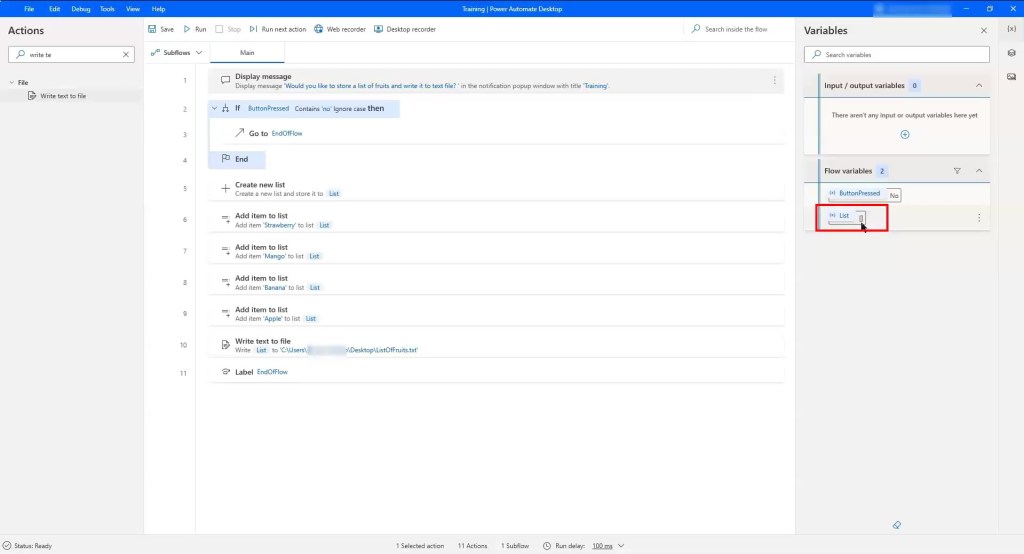
If the user selects “No” it will end the flow using the Label action. If the user selects “Yes”, the flow will continue by creating a list of fruits (Strawberry, Mango, Banana and Apple) and writing it to a text file using the Write text to file action. This file can be found in the desktop folder.


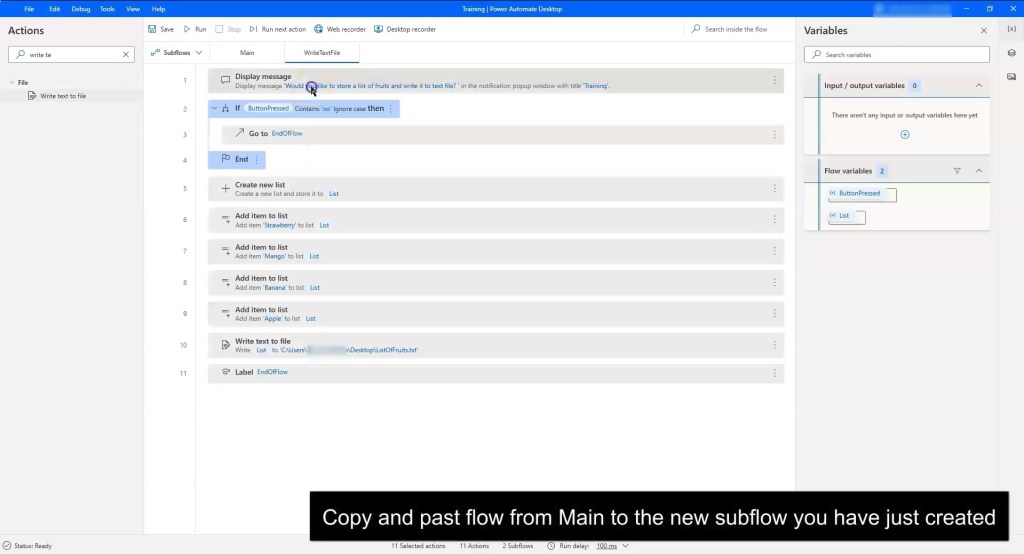
To improve this flow, use the Run subflow action. Create a new subflow (in this example, we named the subflow as WriteTextFile

Next, copy the flow and paste it in the subflow you have just created. Delete the flow in the Main workspace. Deploy the Run subflow action in your main workspace and select the subflow you have created. This will help you categorize different sets of actions into a categorized subflow which will allow your flows to look neater and more organized.
For better understanding, Run this flow and you can see that it behaves exactly the same as before.
On block error
This is an error handling action It will help to control your flow, not to stop the process. You can choose to set a new variable or run another subflow or throw an error.
- Deploy the On block error action.
- Name it “TryWriteTextFile”

3. Save action
4. Create a New variable and name it as %Filename% with a value of “-”

5. Deploy write text to file action. File path of %Filename%. On Text to write, type “Hello”. Disable the Append new line function.
6. Save action

If we run the flow in this example, it will display an error message saying that “invalid directory specified”.

The downside of this is that we are not able to get the exact error message to continue the flow. So in this case, we cannot make use of this On block error action as there are certain actions that have the On block error action in it. For example, in the write text to file action, there is an On Error option. Here you can indicate your own new sets of rules by clicking on Advanced


Set a new variable under Failed to write text to file.
Click on Continue flow run where the flow will continue running and go to the next action.
Likewise for Invalid directory for file, set a new variable and Continue flow run.
When you run this flow, it will behave the same as before.

It depends on the process, whether to use the On block error or make use of each action’s exception handling (On error). However, this is limited and not all actions provide the On error option.